Install & first recording
Install
Section titled “Install”- Download Kapture — a signed, notarized disk image straight from our own servers.
- Open Kapture.dmg and drag Kapture onto Applications.
- Open it. Because the build is notarized by Apple, it opens without any “unidentified developer” ceremony.
Kapture updates itself: when a new version ships, the app offers it on its next check and installs in place. You never re-download by hand.
Permissions
Section titled “Permissions”macOS gates the interesting hardware, so the first launch asks for what it needs. Two are required to record at all, three more unlock specific features:
| Permission | Needed for |
|---|---|
| Screen Recording | Capturing the screen — required. |
| Microphone | Your narration. |
| Camera | The camera bubble. |
| Accessibility | Logging your clicks and keystrokes, which power automatic zooms, the drawn cursor, and the key-cap overlay. |
| Input Monitoring | Same event log — macOS splits it across two switches. |
Grant them in System Settings → Privacy & Security if you dismissed a prompt. Kapture shows exactly which ones are missing in the recorder window.
Record something
Section titled “Record something”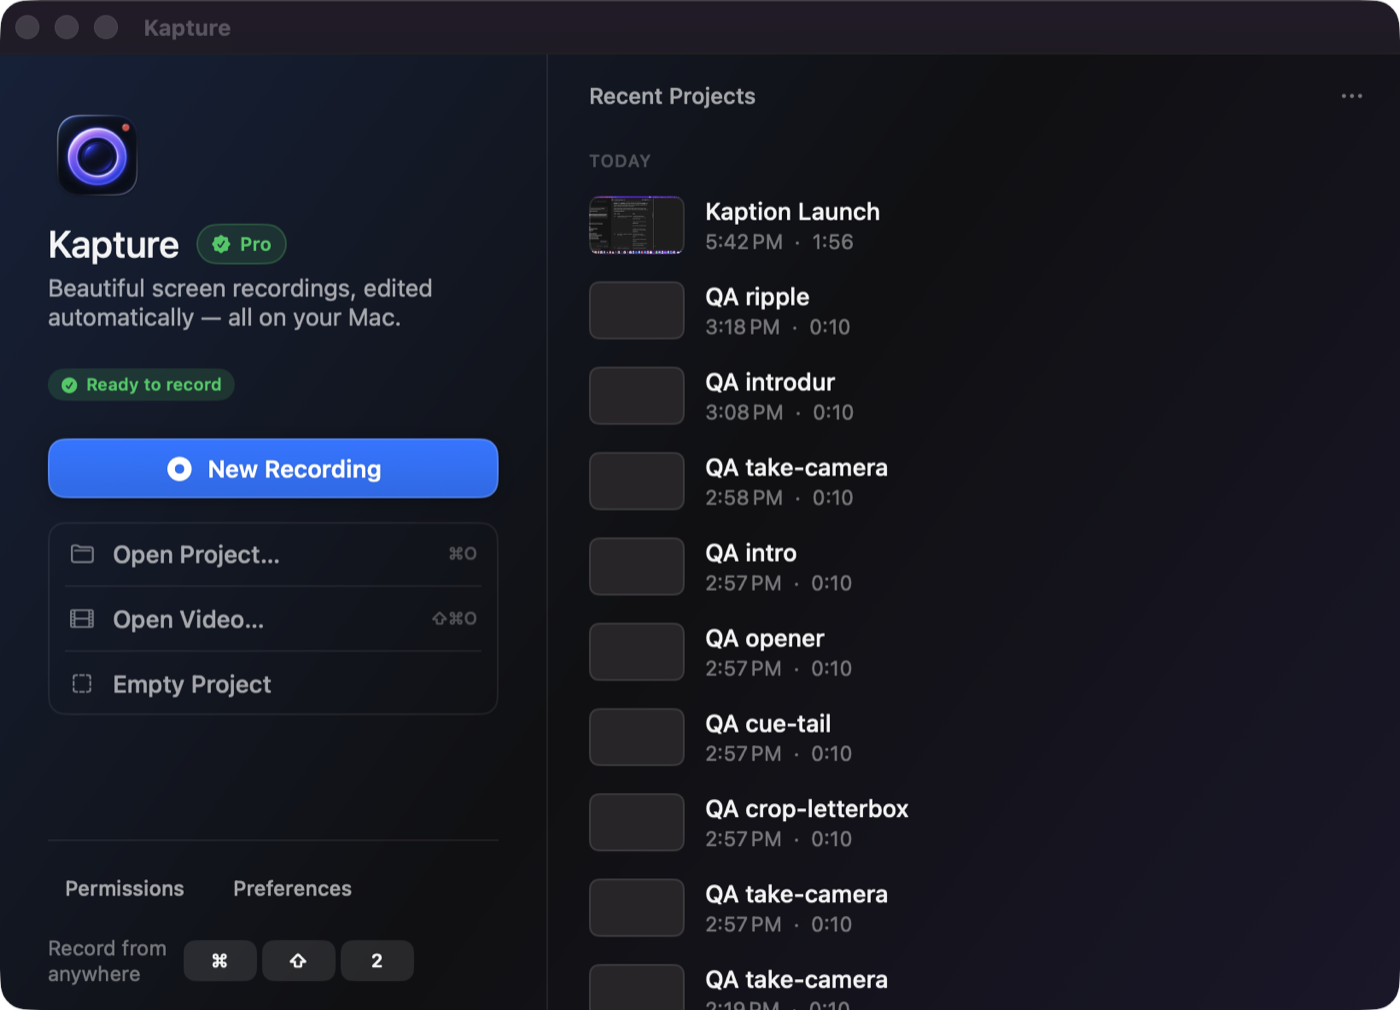
- Open Kapture — the recorder window lists your displays, windows, cameras and microphones.
- Pick what to capture. A whole display gives you room to crop later; a single window keeps things tight from the start.
- Turn the camera and microphone on if you want them, and hit Record. A short countdown gives you time to switch to the thing you’re recording.
- Do the thing. Click around, type — Kapture logs those events (with your permission) and uses them later for zooms and cursor rendering.
- Stop from the menu bar icon. The editor opens with your recording on the timeline, zooms already placed where you worked.
Editing something you already have
Section titled “Editing something you already have”Not every edit starts with a recording. Drop a video on Kapture’s Dock icon or on the window it opens with, or pick Open Video (⇧⌘O), and it becomes a project — captions, zooms, background and crop all work the same way they do on a take you recorded. Finder’s Open With lists Kapture for videos too, without making it the default for them.
Projects you have opened before are listed beside the buttons. Star one and it moves to the Favourites tab and stays there however long ago you last opened it; the recents list only holds the last twenty.
Right-click a project for more. Remove from List only forgets the row — the project stays on disk. Move to Trash… removes the project itself, with every recording in it: screen, camera, microphone, any takes you added and any media you imported. A project recorded before 1.9.1 also left a copy of its footage in Kapture’s Recordings folder, and that goes with it. Videos you exported are left where you saved them, and so is a video you opened with Open Video. Everything goes to the Trash, so you can put it back until you empty it. Close a project’s window before you trash it.
What you’ll want next
Section titled “What you’ll want next”- A tour of the editor — thirty seconds of orientation.
- Captions — transcription runs entirely on your Mac.
- Exporting — one button, sensible presets.