Exporting your video
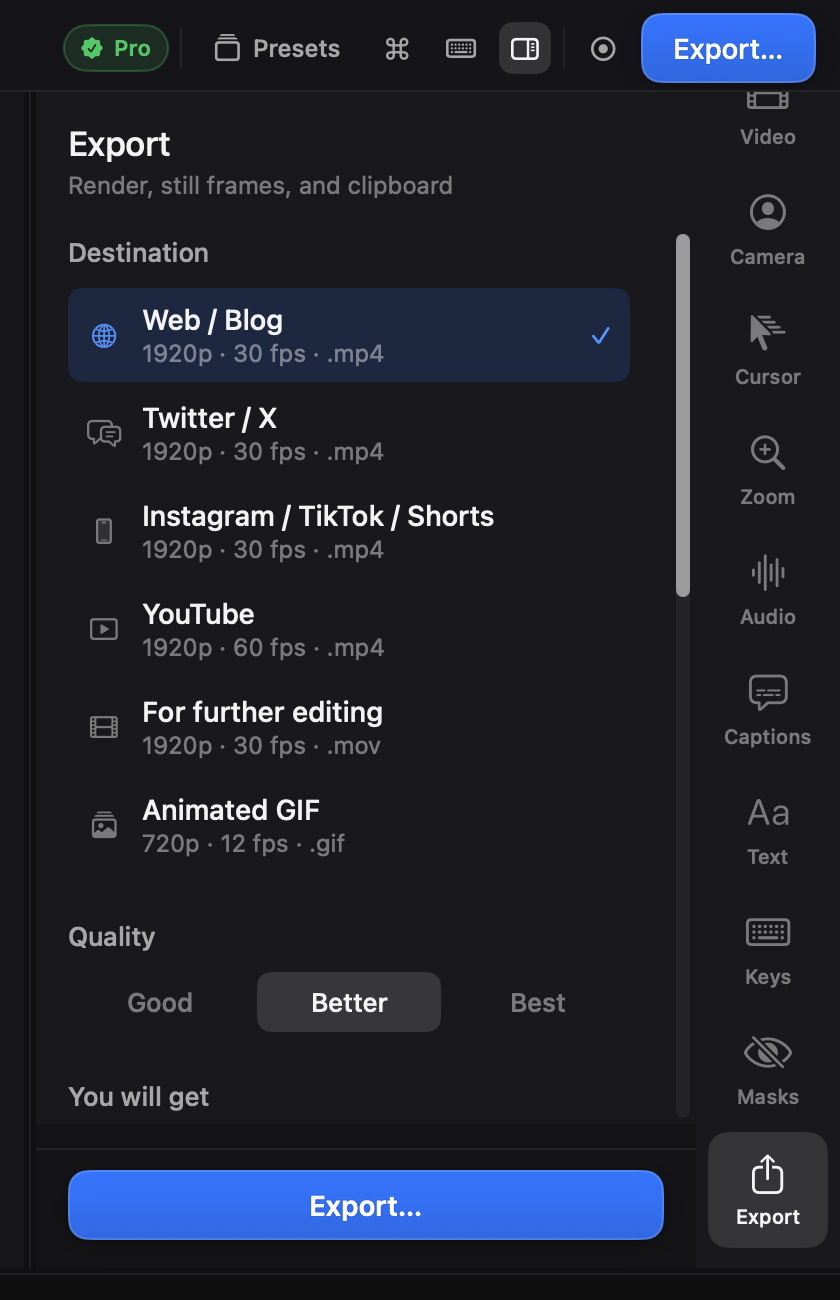
Press Export… (top right, or ⌘E).
What’s free, and what Pro adds
Section titled “What’s free, and what Pro adds”Recording, editing, captions, zooms and every agent tool are free, with no account and no time limit. Export is where a licence changes something:
| Free | Pro | |
|---|---|---|
| Resolution | up to 1080p | up to 4K |
| Frame rate | up to 30 fps | up to 60 fps |
| Watermark | a small corner mark | none |
Recording still captures at your display’s full resolution either way — the ceiling is on what an export writes out, not on what Kapture records. Pick a preset above 1080p or 60 fps without a licence and the panel says what you will actually get, rather than promising a size and quietly handing back a smaller one.
Pro is $10 a month, or a $99 licence bought once. The licence covers two Macs and carries every version released in the twelve months after you buy it; when that window closes the copy you have keeps working exactly as it is, and you decide whether a later version is worth renewing for. There is a Get Pro button above Export.
Destinations
Section titled “Destinations”| Preset | What it is |
|---|---|
| Web / Blog | 1920p MP4 at 30 fps — the safe default. |
| Twitter / X | MP4 tuned to X’s re-encode. |
| Instagram / TikTok / Shorts | MP4 for the vertical platforms. |
| YouTube | 60 fps MP4 for smooth cursor motion. |
| For further editing | ProRes MOV — heavy, pristine, made to be re-cut. |
| Animated GIF | 720p, 12 fps, for read-me files and PRs. |
Each preset shows an estimated file size for your project before you commit.
Quality
Section titled “Quality”Good / Better / Best trades bitrate for size within any preset. Better is the default and the right answer most days.
Frame rate
Section titled “Frame rate”Preset / 30 fps / 60 fps sets how many frames a second the export carries, separately from its resolution — the two are different questions, and a preset’s own answer is not always the one you want.
Preset uses whatever the destination above asks for. Choosing 30 fps is the single fastest thing you can do to an export: there is half as much to render, and each frame is cheaper too, so a long 4K project can finish several times quicker. Screen recordings rarely need sixty — reach for 60 fps when the cursor moves fast or you are showing an animation.
Halving the frame rate does not halve the file, because the picture is the same either way and only arrives less often. Expect roughly 70% of the size, and watch the estimate above the Export button — it follows your choice.
While it renders
Section titled “While it renders”Exports run in the background — keep editing, or queue an export per timeline. Progress shows in the panel; finished files reveal in Finder. Export history for the project lives at the bottom of the panel.
The other two exports
Section titled “The other two exports”- Still frame (⇧⌘E) — one PNG of the playhead frame, exactly as composed. It’s the fastest way to check what an edit really looks like, and where your thumbnail comes from.
- Copy to clipboard (⌥⌘C) — renders and puts the video straight on the pasteboard, ready to paste into Slack or iMessage.