Images & video overlays
Anything visual you want on top of the recording — a screenshot, a logo, a phone clip, B-roll — is an overlay: drag the file onto the timeline, or use Import from the command palette.
Placing
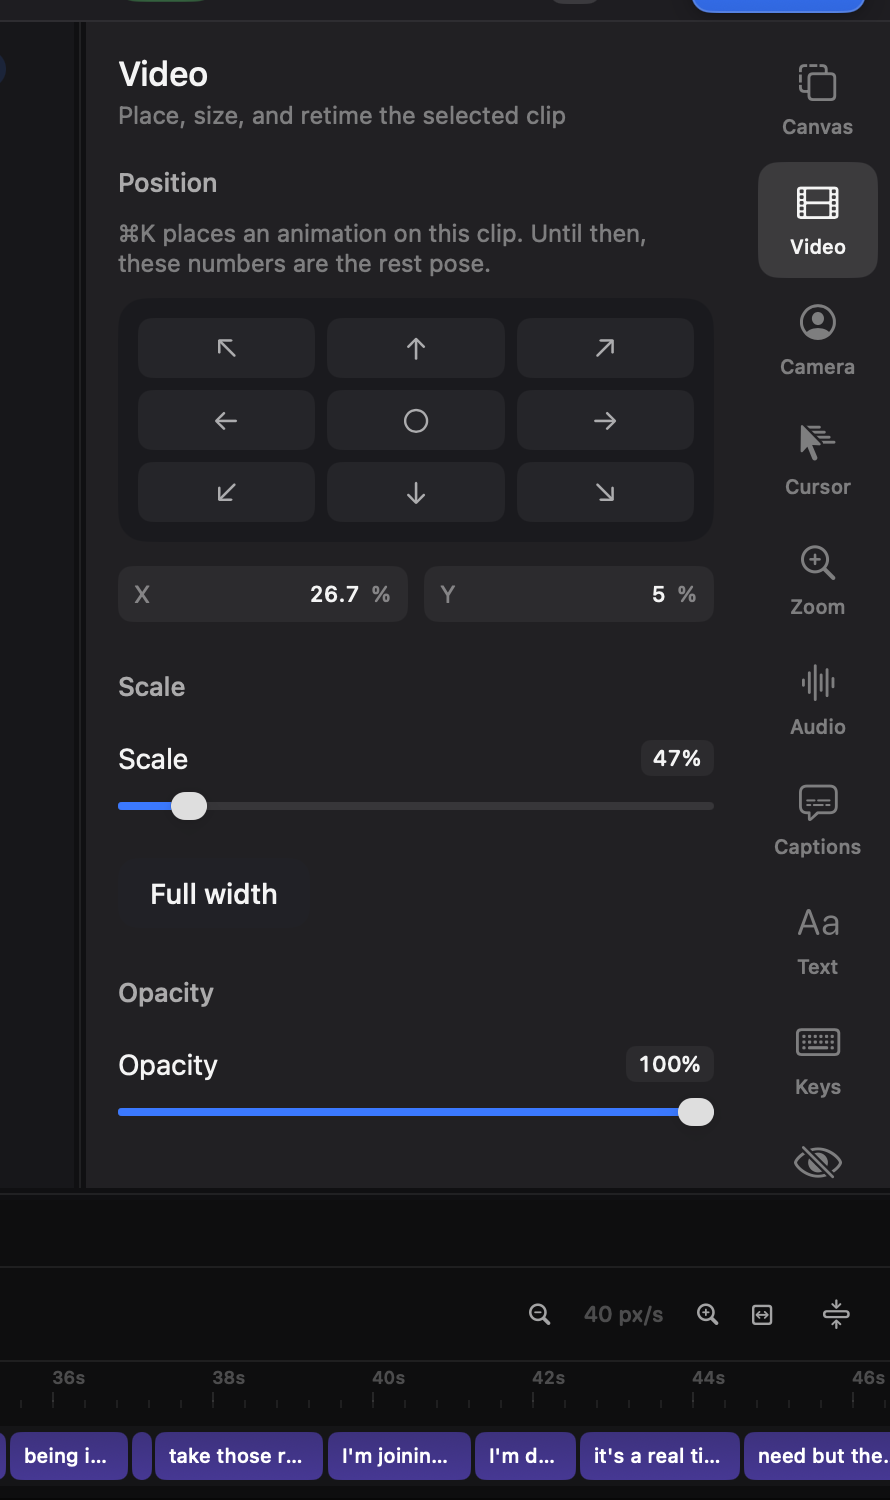
Section titled “Placing”Select the clip and it grows handles on the canvas — drag to move, corners to resize. The Video tab (⌘2) gives you the same thing in numbers:
- Position — X/Y in percent, plus a nine-point anchor grid for instant corner/centre placement.
- Scale — the picture’s width against the canvas. Full width spans it edge to edge in one click. Over 100% it runs off the edges and the overflow crops.
- Opacity — fade it without cutting it.
- Corner radius — under Frame, per clip.
- Tilt — switch on Tilt in 3D to lean the picture like a card held at an angle. Pick the side that leans away on the grid, then set the angle and how much the far side shrinks. A clip’s tilt is its own; it never inherits the recording’s. With a keyframe animation the lean is part of the pose: set it before the bar for the start, on or after the bar for the end, and the picture turns between the two.
Dragging a picture near the middle of the canvas snaps it to the centre line, horizontally or vertically, and a dashed guide shows which. Hold ⌘ while dragging to place it freely. A picture can be dragged right off the canvas; select it on the timeline, or use the X and Y fields, to bring it back.
The numbers and the handles always describe the picture — crop a clip and everything keeps pointing at what’s actually visible.
Timing
Section titled “Timing”An image runs 3 seconds by default; type an exact length in Timing → Duration or stretch its edge. Videos bring their own length and trim like any clip.
Animating (⌘K)
Section titled “Animating (⌘K)”Select the clip, place the playhead, press ⌘K: an animation bar appears on the clip. Move or scale the picture at the bar’s end and Kapture animates between poses; each bar has its own easing and duration, and ⌘K again adds the next one. Entrance and exit fades (Animation section) come free without keyframes.
Easing picks how a bar moves between its poses: Linear, Ease In, Ease Out, Ease In + Out, Standard Ease, Snappy, the Cubic and Exponential versions of in, out and in-out, Back In (it pulls back before it goes) and Back Out (it overshoots and settles).
Switch on Motion blur under Keyframe Animation and the clip smears while that bar moves it; Blur strength sets how much. It’s per bar, so a fast slide can blur while a slow drift stays sharp.
The recording itself animates the same way. Select a recorded segment on
the timeline, press ⌘K, and its Position, Size, Opacity and Tilt
controls write the pose at the playhead — before the bar the start, on or
after it the end — so the recording can slide from one corner to fill the
frame, fade, or lean over as you talk. Agents do it through manage_clips
with action: layout and a plate.
Freeze frames
Section titled “Freeze frames”⇧⌘F splits the selected clip and inserts a still of that exact frame — the standard trick for “hold this moment while I talk over it.”
Order and lanes
Section titled “Order and lanes”Higher lanes draw on top. Drag a clip vertically to change its lane.