Placing and editing zooms
Zooms are what make a screen recording watchable on a phone: the camera pushes into the part of the frame where the work is happening.
Automatic zooms
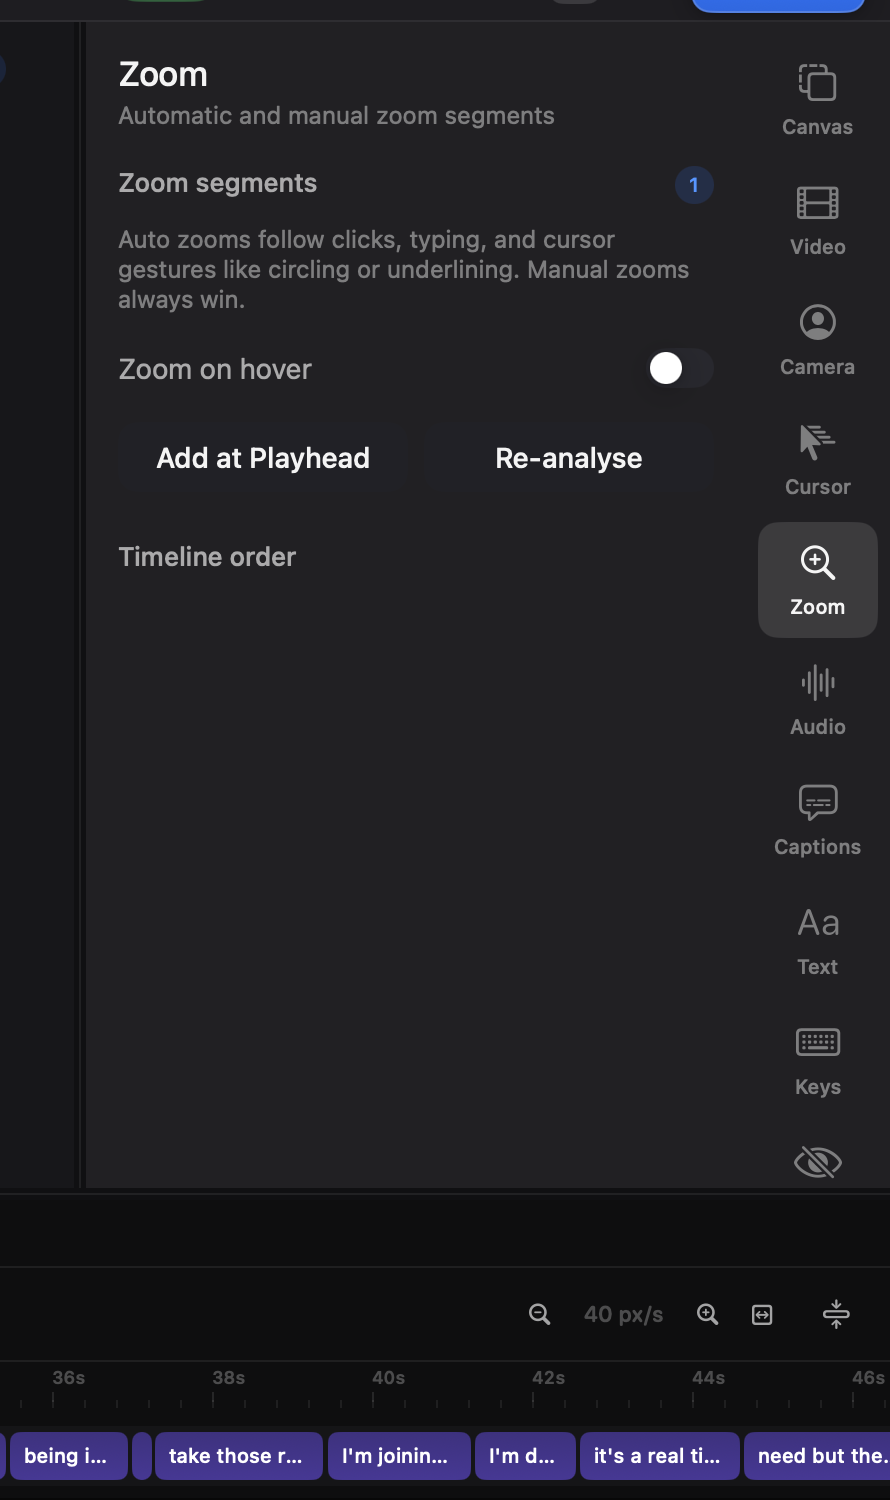
Section titled “Automatic zooms”While you record, Kapture logs where you click and type (with Accessibility permission). When the editor opens, zooms are already placed over those moments — centred on the pointer, timed to the activity. Delete the ones you don’t want; keep the rest. Regenerate the whole set any time from the Zoom tab.
Manual zooms
Section titled “Manual zooms”- Z adds a zoom at the playhead, centred on the recorded cursor position.
- ⇧Z, or the zoom button under the canvas, lets you draw the zoom region: drag a rectangle on the canvas and that’s what fills the frame.
Editing a zoom
Section titled “Editing a zoom”Zooms appear as chips on the timeline. Drag a chip to move it; drag its edges to change how long it holds. The Zoom tab lists every keyframe with its scale and easing — the easing curve controls how the push-in feels, from mechanical to cinematic.
While a zoom is active the camera bubble can shrink out of the way — that’s the Shrink on zoom setting in the Camera tab.
Where zooms land
Section titled “Where zooms land”A zoom settles on whatever you clicked, dead centre in the frame. That is the right answer when the recording fills the frame, and the wrong one on a vertical canvas, where the recording is a band with room above and below — centring the clicked region drags the whole composition down to meet it.
Where zooms land in the Zoom tab moves the zoom off centre: nine directions, or an exact X/Y percentage. It belongs to the timeline, so a 16:9 cut and a vertical one each keep their own. Centre is the default.
The shift eases in and out with the zoom, so a zoom-out returns to where it started rather than sliding. A deeper zoom shifts further than a shallow one at the same percentage — there is more room to move before the frame would run off the picture.
Zooms and takes
Section titled “Zooms and takes”Zoom timings belong to the original recording’s clock. Over an appended take they stay off rather than firing at meaningless moments.