Aspect ratios & backgrounds
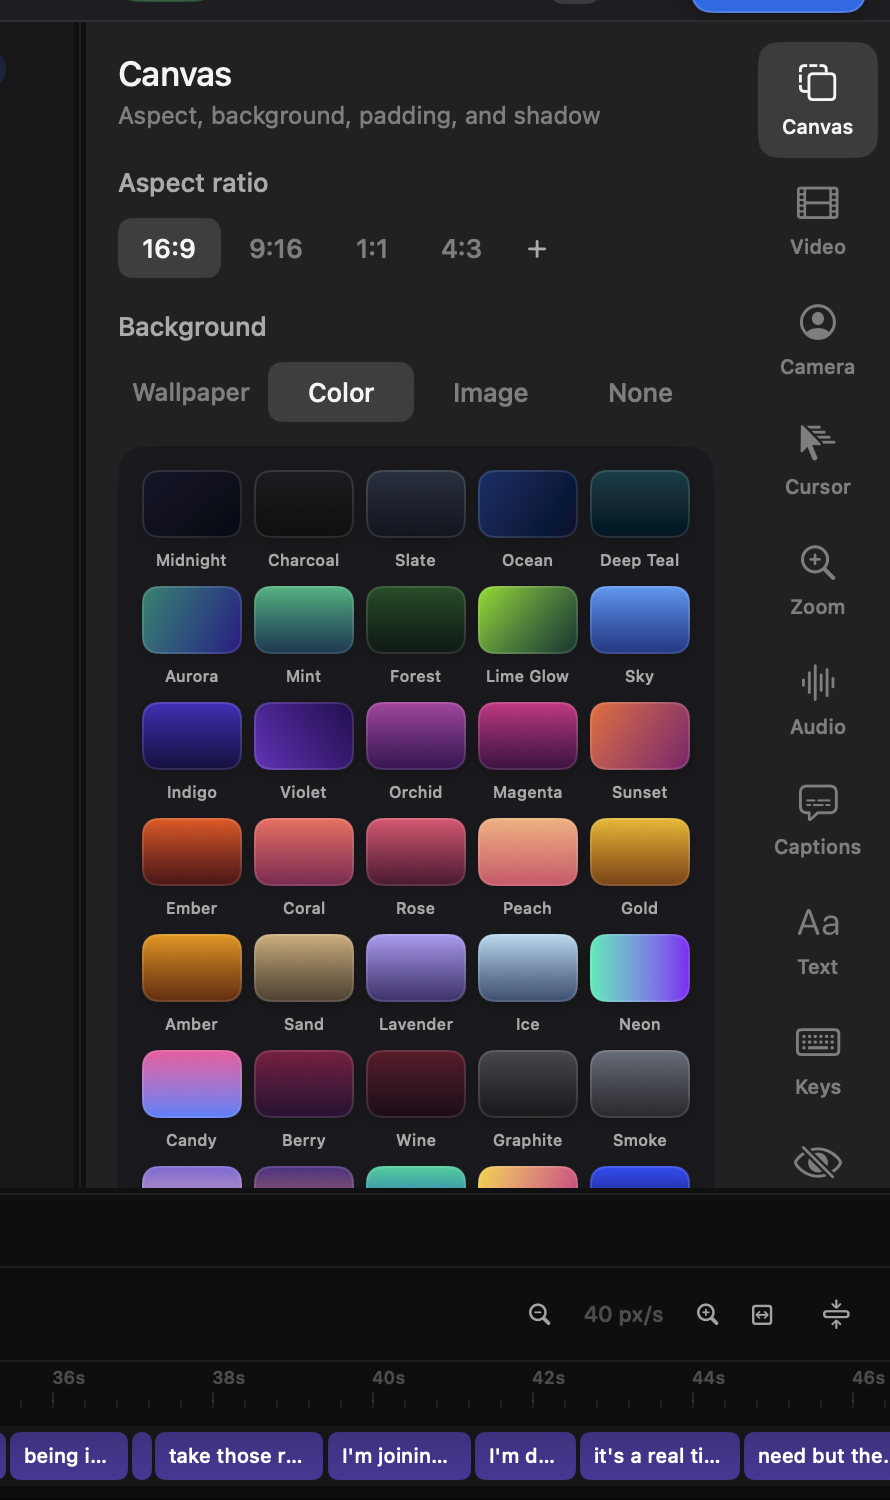
The canvas is the frame your export ships in. The recording is a picture inside that frame — which is what makes one recording publishable in five shapes.
Aspect ratio
Section titled “Aspect ratio”The shape lives in the row above the canvas, beside Crop. Click it — it reads “Wide 16:9”, “Square 1:1” and so on — for Wide, Vertical, Square and Standard, a custom ratio, and the output size in pixels. Switching re-fits the recording into the new frame; nothing is lost, because cropping is a separate, deliberate act.
Different platforms want different shapes — that’s what multiple timelines are for.
Size & padding
Section titled “Size & padding”One slider runs from “recording floating in the frame with room around it” to “recording overflowing the frame edge-to-edge”. Under 100% opens padding around the picture; over 100% fills and crops the overflow — the only way a portrait recording fills a landscape frame.
Corner radius rounds the recording’s plate; the shadow lifts it off the background.
Under Tilt in the Video tab, switch on Tilt in 3D and the recording turns like a card held at an angle. The nine-button grid picks the side that leans away from you — each button is a small picture of the result, and the middle one is straight on — Amount is the angle, up to 45°, and Perspective is how much the far side shrinks. The shadow leans with the card.
Tilt is off until you turn it on. With no clip selected it leans the whole recording; select a trimmed segment to give that piece its own lean, or to lay it flat while the rest stays tilted. A tilted picture can still be made larger than the canvas with Size, so one edge of it runs off the frame while the rest leans into view.
Backgrounds
Section titled “Backgrounds”A bundled wallpaper, one of twelve gradients or eight flat colours, a colour of your own, your own image, or nothing — with optional blur. The background is behind everything: plate, camera, overlays, captions.
Position
Section titled “Position”Anchor the recording to any of nine positions when it doesn’t fill the frame — top for a phone demo with captions below, centre for the classic look.
The X and Y fields underneath nudge it off that anchor, in percent of the canvas: pick centre and set Y to −5% to sit it slightly high. Picking a different anchor clears the nudge, since the nudge is measured from wherever the anchor puts the picture. The camera bubble takes the same pair, under Camera.
These live in the Video tab. With no clip selected it edits every recorded segment together — position, corner radius, size and tilt at once — which is usually what you want for a recording that has been trimmed into several pieces. Select one clip on the timeline to give that one its own.